
How to Pack Kitchen
How to Pack a Kitchen for Moving in Vancouver: The Ultimate Guide
Packing a kitchen is universally considered the most daunting, time-consuming part of any residential move. Unlike a bedroom packing where you are mostly packing clothes, or a living room filled with large, distinct furniture, your kitchen is a dense collection of items that are heavy, fragile, and often awkward to pack. From delicate wine glasses to massive stand mixers and awkward, heavy cast iron skillets, every cupboard presents a new packing challenge.
Furthermore, the kitchen requires a strategic, step-by-step plan. Because you and your family need to eat and drink right up until moving day, you cannot simply box everything up a week in advance. You need a systematic plan that balances packing progress with daily necessity.
Whether you are relocating from a tight condo in Yaletown to a house in Burnaby, or moving out across the Fraser Valley, getting your culinary workspace boxed up safely requires specialized materials and systematic organization. At Eco Van Move, we follow a simple 6-step process to help make kitchen packing safer, faster, and more organized.
Kitchen Packing at a Glance
- Recommended Timeline: Start packing non-essentials 1 week out; dedicate 1–2 full days for final packing just before the move.
- Packing Order: Start with least-used specialty items (china, bread makers), transition to daily items, and end with the "essentials" box.
- Risk Level: Extreme. The combination of heavy cookware, highly fragile stemware, and liquids in the pantry creates the highest potential for damage in the entire home.
- Recommended Materials: Small & Medium heavy-duty boxes (or plastic totes), lots of unprinted packing paper, specialized Dish Pack/Cell Kits, and packing tape.
Decluttering
Phase 1: Declutter, Downsize, and Edit Your Kitchen Inventory
Before you wrap a single dish, you must ruthlessly edit your kitchen inventory. Moving is a game of volume and weight; it takes significant time to pack and effort (or money) to transport every single item. Do not pay to move expired pantry goods, the bulky waffle maker you haven't used since 2019, or the chipped mugs you don't even like.
The Pro Workflow for Downsizing:
- Cabinet Audit: Be honest about what you actually use. If you have duplicate gadgets or "single-use" tools gathering dust, it's time for them to go.
- Sort Ruthlessly: Create three distinct areas: Keep, Donate (or Sell), and Toss. If you need a more structured approach to this challenging first phase, review our guide on how to declutter before moving.
- Pantry Purge: Use up as much food as possible in the weeks leading up to the move. Check all expiration dates and toss anything past its prime. Donate unopened, non-perishable goods.
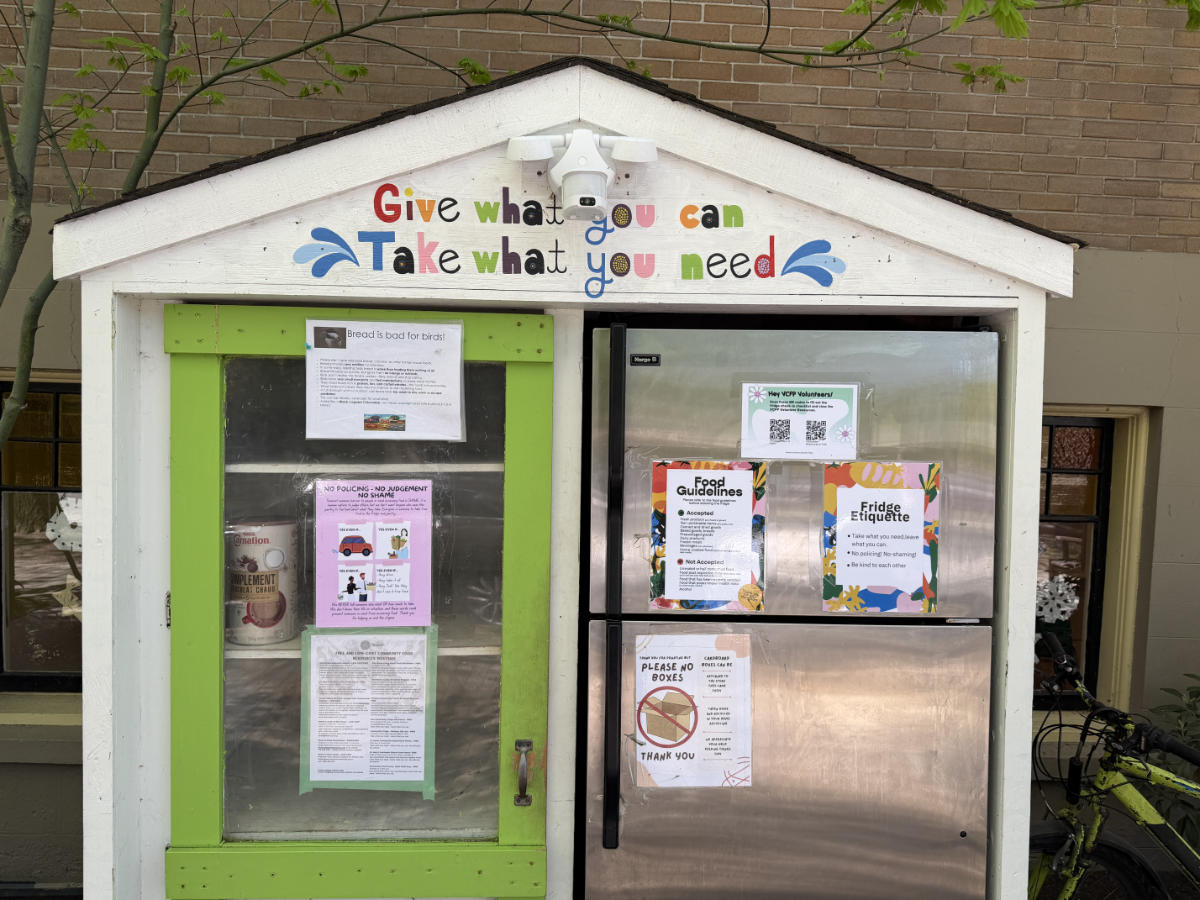
Support the Community & Protect Your Perishables
Lighten your load by donating unopened pantry goods and fresh produce to the Vancouver Community Fridge or Food Banks. It is a great way to give back while clearing out your kitchen. For the food you’re keeping, we can bring professional-grade coolers on moving day upon request to keep your refrigerated items fresh and safe during transit.
Essentials Box
Phase 2: Assemble Your "First 48 Hours" Kitchen Essentials Box
Your kitchen is typically the final room to be packed and the very first to be functional once you arrive. To maintain your sanity and avoid the high cost of takeout during your first few days in your new Vancouver home, it is essential to build a "Priority Essentials Box".
This culinary survival kit should include high-calorie snacks and canned foods to fuel your first few hours of moving while the rest of your kitchen remains in transit. By prioritizing these items, you ensure your family stays energized and comfortable from the moment you step through the door.
Pack these essentials in a clearly labeled container—or a transparent bin—and keep it with you rather than in the moving truck:
- Quick Fuel: High-calorie snacks and canned foods to keep your energy up during the first few hours of moving.
- The Morning Kit: A coffee maker or kettle, coffee or tea, grounds, and one mug per person.
- Dining Basics: Basic eating utensils, one plate, one bowl, and one drinking glass per family member.
- Preparation Tools: A multi-purpose cutting board, one high-quality chef's knife, a spatula, and a can opener.
- Cleanup Supplies: Dish soap, a sponge, a roll of paper towels, all-purpose cleaner, and heavy-duty garbage bags.
- Basic Cooking: A small pot and a frying pan for simple, fast meals.
To make this process even easier, if you rent our green moving box package, we provide one dedicated red box. This allows you to distinguish your essentials immediately among your other moving boxes.
Fragiles & Plates
Phase 3: The Technical Guide to Packing Plates, Glassware, and Stemware
This is where standard DIY moving efforts often fail, resulting in broken dishes. Protecting fragile items requires specific techniques, not just endless amounts of paper.
The Vertical Plate Rule (Crucial)
One of the most common DIY packing mistakes is laying plates flat inside a box, just as they sit in your cupboard. This is a recipe for disaster. When stacked flat, the bottom plates absorb the entire weight and cumulative shock of everything above them. Always wrap plates individually and stack them vertically, on their edges. Think of them as delicate vinyl records in a crate, not a stack of pancakes.
Protecting Glassware and Stemware with Sustainable Padding
Glassware and delicate stemware need rigid separation and significant shock absorption. For maximum protection, we highly recommend utilizing specialized "Dish Pack Kits" or "Cell Kits" (boxes that include cardboard dividers) to ensure every glass is perfectly isolated.
Cushioning Techniques:
- Bottom Buffer: Always start by crumpled a thick layer of packing paper (at least 3 inches) at the bottom of the moving box to create a "shock absorber."
- Wrap the Stem: For wine glasses, wrap the stem directly with extra tissue paper or cloth to thicken it before wrapping the entire glass.
- Sustainable Padding Hack: You don't always need miles of bubble wrap. Your clean, soft household textiles make excellent, eco-friendly padding. Wrap your glasses tightly in kitchen towels, washcloths, or even thick winter socks to create a massive buffer without purchasing more supplies.
- No Gaps: Once the box is full, fill every remaining empty space with crumpled paper. A box that "rattles" when shifted is a box where items are actively breaking.
Heavy Items & Pantry
Phase 4: Moving Heavy Appliances, Cast Iron, and the Pantry
Securing Stand Mixers, Skillets, and Small Appliances
Heavy items present a major safety risk: they can easily punch right through the bottom of a cheap, standard cardboard box when lifted. Small, high-end appliances like expensive stand mixers or complex juicers have sensitive internal mechanisms that are highly susceptible to damage from vibration.
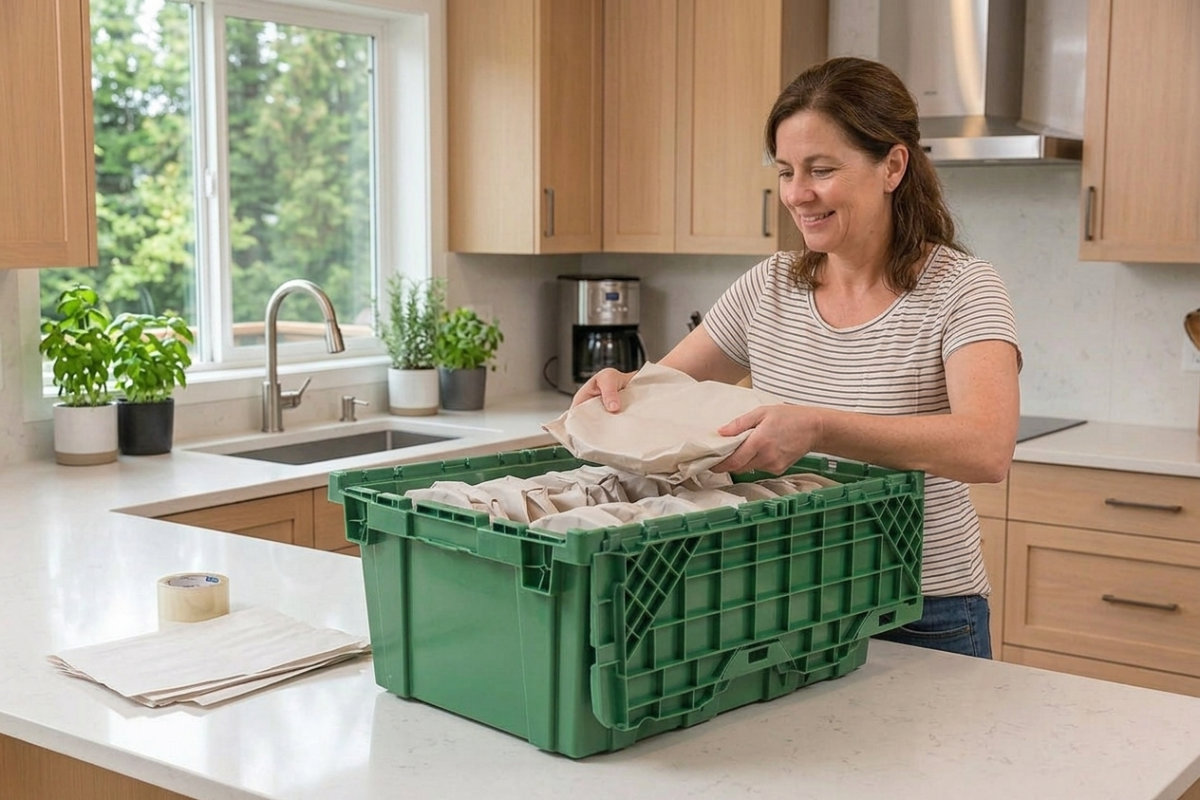
For these heavyweights, we strongly recommend bypassing cardboard and utilizing our rigid plastic reusable moving boxes. These feature flip-attached lids and specific interlocking textures on the bottom and top, allowing you to safely stack massive kitchen gear without the boxes collapsing or sliding.
Appliance Packing Protocols:
- Coil Cords: Neatly coil all power cords and secure them with a twist tie or tape to the appliance body, preventing them from dragging.
- Disassemble Components: Remove mixer bowls, beaters, lids, and any loose, fragile attachments, wrapping them separately.
- Cushion Cast Iron: Cast iron skillets are exceptionally heavy. Wrap them individually in towels and place them at the very bottom of smaller, rigid boxes or plastic totes.
Boxing up the Pantry and Spices
For your pantry, the key is containment and leak prevention.
- Spices: Your spice collection is likely expensive and fragile. Because these jars are small and often glass, do not pack them loosely in a large box. Place them all tightly together into a small, hard-sided container (like a large Tupperware or a shoebox), filling any remaining gaps with crumpled paper.
- Seal Dried Goods: Tape all dry goods (flour, sugar, rice) completely shut or transfer them to sealed Tupperware.
- Prevent Oil Leaks: For oils and liquid condiments, unscrew the cap, place a small square of plastic wrap over the opening, and screw the cap back on over the plastic. This creates an airtight seal that stands up to moving truck movement. Pack all liquids upright in smaller boxes.
DIY vs Professional
Phase 5: When to Call the Kitchen Packing Professionals
Packing a kitchen is exhausting, repetitive work that requires constant decisions on weight distribution and fragile protection. Using the wrong container for heavy items—like a stand mixer or cast iron cookware—can lead to a catastrophic box failure, while insufficient cushioning can result in the loss of a cherished china set.
If your timeline is tight or you are overwhelmed by the complexity of your inventory, our professional Residential Relocation services are the ideal solution. Our trained crews are experts in high-protection packing techniques, ensuring your high-value items arrive intact and allowing you to focus on settling into your new home.
FAQs & Conclusion
Frequently Asked Questions (FAQs)
How do I pack fragile glassware and plates safely?
For maximum safety, use specialized "Dish Pack Kits" or "Cell Kits" that provide individual cardboard dividers for glassware. Always crumple a thick layer (3-4 inches) of paper at the bottom of the box for cushioning. plates must always be wrapped individually and stacked vertically (on their edges), never flat, to absorb shock correctly.
What should I include in a kitchen essentials box?
This is your survival kit for the first 48 hours. It should travel with you, not in the truck. Include a coffee maker (and grounds), high fuel snacks and canned foods, basic eating utensils, plates, and bowls for each person, one multi-purpose pan, a cutting board, one good chef's knife, dish soap (in ziplock bag to insure it doesn't spill to your food), a sponge, paper towels, and heavy-duty garbage bags.
What is the best way to move pantry spices?
Since spice jars are small and often glass, they are easily broken if packed loosely. Place them all tightly together into a small, rigid container—like a large Tupperware, a small shoebox, or even a small plastic reusable bin—filling any gaps with crumpled paper so they cannot shift or rattle.
How do I pack heavy cast iron pans and mixers?
Never place extremely heavy items in large cardboard boxes, as the weight can break the box bottom. Place heavy cast iron skillets and stand mixers at the very bottom of small, heavy-duty boxes or rigid plastic totes. Disassemble any loose parts (like the mixer bowl and beaters) and wrap them separately.
What is the best way to move open liquids and pantry oils?
To prevent messy leaks, unscrew the cap, place a small square of plastic wrap over the bottle opening, and then tightly screw the cap back on over the plastic to create a waterproof seal. For additional safety, place the bottles inside a sealed plastic bag. Pack all liquids strictly upright inside a small, lined box or a rigid plastic bin, and label the container clearly with "THIS SIDE UP" arrows. The last thing you want is a spill that ruins your clothes or other absorbent packing materials.
How many boxes do I need to pack a standard kitchen?
While every home is different, a standard-sized kitchen typically requires about 10–15 small boxes (for heavy items and fragiles), 5–8 medium boxes (for bulky but lighter items), and 2–3 specialized dish pack/cell kits. We recommend utilizing reusable plastic moving bins for heavy appliances and cast iron for superior safety.
Make Your Kitchen Relocation Seamless
Your kitchen is the complex heart of your home, and moving it should not result in broken memories or a thrown-out back. By taking the time to declutter ruthlessly, strategically assembling a survival box, and utilizing the right heavy-duty packing materials and techniques, you ensure your culinary workspace is ready to go on day one in your new Vancouver location.
If you are planning an upcoming move and want to review your options for a completely stress-free transition, you can easily 👉 request a moving estimate before your big day. Let us handle the heavy lifting plus your room-by-room packing so you can focus on unpacking.
Login to add a comment.